How to Make Screen Printing Stencils
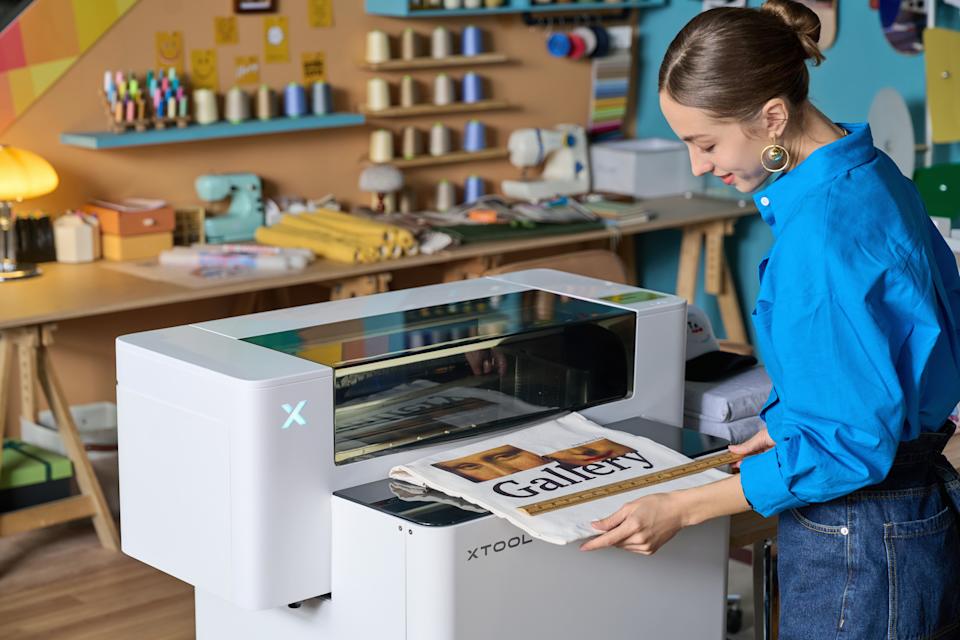
Screen printing holds a special place across various industries. Its ability to transfer vivid designs onto different materials makes it a favorite. From fashion to advertising, its popularity knows no bounds. However, the traditional path to creating stencils can be time-consuming.
That’s where xTool’s innovative method steps in to change the game by blending traditional techniques with cutting-edge technology. What once took hours now unfolds in mere minutes.
This article focuses on two of those innovative stencil creations: vinyl cut and laser-engraved stencils. We will be highlighting the tools and stencil preparation steps for each method.
In This Article
- The DIY Method: How to Make Vinyl Screen Print Stencils
- The Innovative Method: How to Make Laser-Engraved Stencils
- Conclusion
The DIY Method: How to Make Vinyl Screen Print Stencils
Vinyl is a flexible plastic material that comes in sheets. It is widely used for various applications, from signage to vehicle wraps, due to its durability and ease of use. In the context of screen printing, vinyl acts as a barrier on the silkscreen, blocking ink from passing through certain areas.

In this method, an artwork is designed and transferred to a vinyl sheet using a cutting machine, which precisely cuts out the design. This cut vinyl is then peeled away from its backing and applied to the screen mesh. That mesh screen is then used for screen printing.
Materials and Tools Needed
For making vinyl stencils for screen printing, you’ll need these four things:
1. Vinyl Sheet: Vinyl sheet is the main ingredient. You have two options to choose: Iron-on vinyl and self-adhesive vinyl. For one-off-screen jobs, go with a self-adhesive vinyl, and for permanent stencils, use the heat transfer vinyl (HTV). Choose sheet size according to your screen printing design.
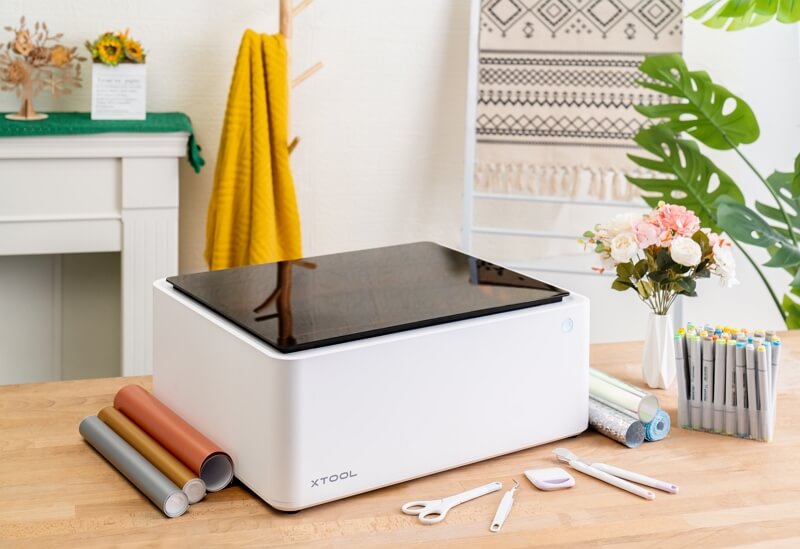
2. Vinyl Cutter: Cutting vinyl with ordinary scissors or cutters is difficult. You need a dedicated vinyl cutter – a device with a specialized blade to cut through the vinyl sheet according to your specified design. xTool M1 is a perfect example. It’s controlled by software, where you'll import your design, adjust settings, and command the cutter to create the stencil or design cut-out.

3. Silkscreen: Silkscreen, the polyester mesh, is traditionally associated with the art of screen printing. It is used in conjunction with a vinyl screen to accurately transfer the screen printing.
4. Transfer Paper: This clear or translucent paper is used to transfer the cut vinyl design onto the silkscreen accurately.
How to Make Vinyl Stencils for Screen Printing
Now, with all these tools, you can start creating vinyl stencils:
Step 1: Design Creation
Craft your design with any graphic design software. This design will be what you intend to print on your t-shirt or other materials. It could be a lettering or a simple pattern.
Step 2: Setup the Vinyl Cutter
To cut vinyl, you'll need a specialized tool. The xTool M1 is highly recommended for its precision. Import design into the cutter's software. Position the design on the center of the vinyl and leave room on the edges.

Important Note: Since the vinyl will be applied to the underside of the screen, you must mirror your image. Look for the ‘object mirror’ or 'flip horizontally' option in your software to do this.
Step 3: Weed the Vinyl
Post-cutting through the vinyl cutter, remove the vinyl parts where you want the ink to show on your final print. For example, if your design includes text, weed the vinyl letters.Step 4: Apply Transfer Tape
Step 4: Apply Transfer Tape
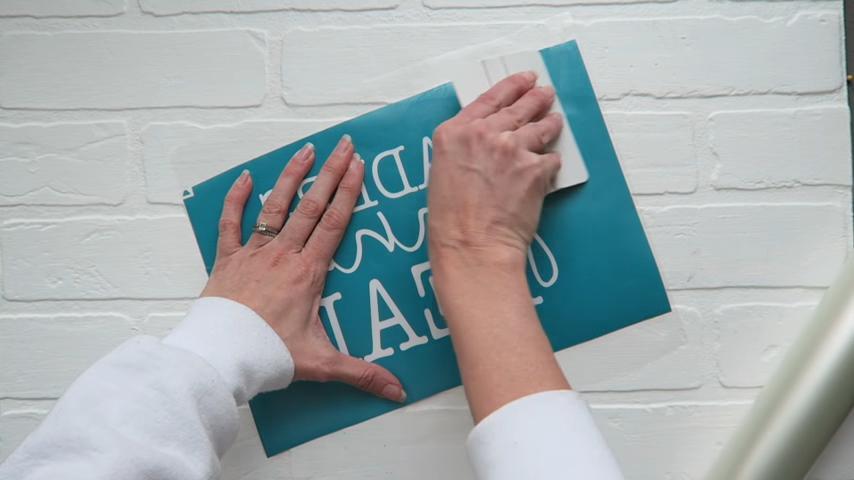
Measure and cut a piece of transfer tape to match your vinyl design. Place the tape over the design and use a scraper to firmly bond the tape to the vinyl. Then, carefully peel off the vinyl's paper backing to reveal the adhesive side.
Step 5: Mount Vinyl on the Screen

Attach the vinyl to the screen's backside with the sticky side. This approach keeps the screen's front ready for ink application.
Center the vinyl on the screen for straightforward alignment during printing. Firmly scrape across the vinyl to secure it to the screen.
The Innovative Method: How to Make Laser-Engraved Stencils
The xTool innovative screen printing method is a quicker and more advanced version of traditional screen printing. It’s even quicker than the vinyl screen printing method.
In traditional screen printing, emulsifying the silkscreen, and then drying and adding design to it is the longest phase. Our method significantly reduces it. xTool pre-offers pre-coated silkscreen, which can be laser engraved and then used directly for screen printing.
Materials and Tools Needed
To follow our innovative method, make sure to collect these tools:
Pre-Coated Silkscreen: Plain silk screen is readily available. But you need a silkscreen that’s pre-coated with emulsion and dried. xTool offers a set of pre-coated stencils with their screen printer. Buy that and get the complete screen printing solution.
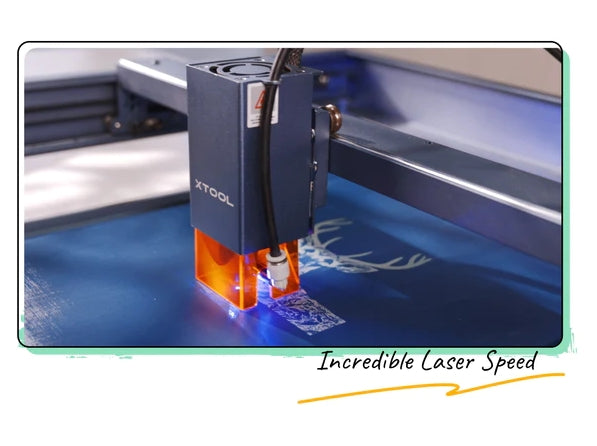
Laser Engraver: To quickly imprint design on silkscreen, laser engraving is the best option. You may use any of our laser engravers, be it xTool S1, D1, or xTool M1.

How to Make Laser-engraved Stencils for Screen Printing
After you have the xTool screen printer and laser engraver, the rest is straightforward. Follow these steps:

Step 1: Create a Design for the Stencil
Just like in the previous case, you need to have a stencil design. However, you don’t have to flip the design this time.s
You can create the design in graphic design software and import it into laser engraver software. Or, if it’s simple, you can directly design it in laser control software.
Step 2: Prepare the Pre-coated Silkscreen
With the xTool screen printer, you’ll receive a set of pre-coated silkscreens. To stretch them, fix them in the frame that also comes along. Place it inside the laser engraver software, and drag your design on it. Make sure it’s properly aligned with the mesh screen.
Step 3: Laser Engrave the Design
Just press the start button to initiate the engraving. It will just take a few minutes to engrave that design onto a stencil.
Laser-engraved stencil is ready! Use it for screen printing.

Related reading:
Conclusion
Stencil creation is the core of screen printing. But the traditional route to it can be both exhausting and time-intensive. Quick alternatives are vinyl and laser-engraved stencils. We have briefly explained how you can make these stencils and simplify your screen printing journey.
Try these methods, and share your amazing creations with us!


