How to Transfer A Picture to Wood?
Turning your favorite photos into lasting memories on paper is a snap, but have you ever considered taking your personalization a step further by adorning your wooden items with those same cherished images?
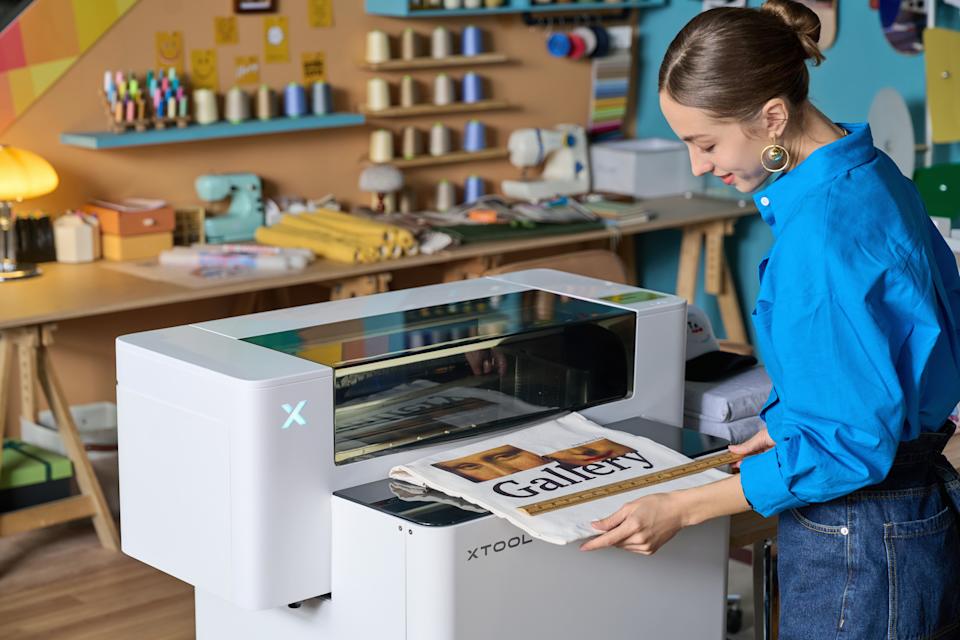
Try laser engraving. It’s the most accurate method when it comes to adding a picture to a material, particularly wood. Whether you want to create picture art, personalize a coaster, or any wooden ornament, laser works equally well.
This post is aimed to guide you through the process of transferring a picture to wood with laser engraving. We’ll be highlighting the tools and preparation steps for doing so.
In This Article
- Understanding The Method: Laser Engraving
- Step-by-Step Guide to Transferring a Picture to Wood
- What Can Be Made: A Look at Photo-Engraved Wood Projects
- FAQs on Transferring Images to Wood
- Conclusion
Understanding The Method: Laser Engraving
Laser engraving is a process in which a powerful light beam (laser beam) vaporizes the material due to intense heat, leaving behind a design impression. The spot size of the beam is so small that every intricate detail is covered with precision.

Although the laser engraving process is inspired by traditional engraving, which involves the use of hand tools, this process is quite quicker and more precise. The laser head is computer-controlled like industrial CNC, which makes it faster compared to the manual method. That also means you’ll obtain similar results every time.
For an ordinary user, laser engraving is a straightforward process. With all the work being automated, there’s no manual intervention. Thus, all results are as good as the design.

Lasers work with a range of materials that can absorb their wavelength. Wood is compatible for engraving. And those engravings, be they patterns or pictures, look great on wood.
Step-by-Step Guide to Transferring a Picture to Wood
Transferring pictures onto wood is fairly a simple job if you’re aware of the right materials and steps for the job.
Step 1: Choosing the Right Wood
As mentioned, wood is a great candidate for laser engraving. But do all types of wood support laser engraving? Most of them do but the engraving results are different since the grain, texture, and color vary among the wood types.
Typically, light-colored softwoods like alder, basswood, and pine are considered the best wood for picture engraving. Alder has an even grain structure, and its engravings are darker brown in shade, prominent over its light hue. Basswood is soft and light brown in color but gives a darker shade when engraved. Pine is known for its wavy grains and white-brown color, which also give a darker shade on laser engraving.
Besides that, hardwoods like cherry, oak, maple, and birch are also among the best wood for laser engraving. For DIY projects, we recommend the engineered plywood sheets of these wood species.
At xTool, we design plywood sheets that are compatible with laser engraving. Different plywood sheets, including basswood, maple, birch, walnut, ash, etc. are available in different sets and thicknesses. For those looking for a new piece of wood for picture engraving, go through the plywood catalog and get your desired one.

Step 2: Preparation of the Wood Surface
The wood surface does require preparation but not as much as other wood printing methods do.
Use a cloth to wipe off its surface, and make sure it's free from dirt. Wood can get burnt marks when engraved. To avoid that, dampening it before engraving is recommended. Either use a spray or wet cloth to moisten its top surface. Remember you don’t have to soak the wood in water.
Step 3: Image Preparation
Image preparation is another critical phase. Typically, the colorful photos are in PNG, JPEG, or JPG format. For paper printing that works, but for laser engraving, you need to change the image into grayscale and bitmap format. The grayscale turns colorful images into shades of gray and the engraver removes the material accordingly.

©ChristyCain – YouTube
For those who’re experienced with any graphic design software, you can use it for file conversion. XCS bitmap mode also helps here. Another alternate is the Imag-R site. You can simply upload your image, and it turns it into the engraving format. Make sure you use a high resolution image without a background.
Step 4: Setting up Your Laser Engraving Machine
Place your wood inside the laser engraving machine. If you’re using an xTool laser engraver, for instance, xTool S1, or any other, we recommend using it with an air assist. It is especially useful for wood engraving, as it efficiently removes the residual particles and the airflow helps avoid wood burning.

Setting parameters is very important here. By changing laser power, you’ll notice how the results vary. For xTool users, choose the recommended material settings. Generally, by setting it to higher power, you’ll get more detailed results. However, the best option is to test different powers on a scrap material and then use the optimized one for photo engraving.
Step 5: Engraving Process
The machine gives you an estimated time for the engraving. You begin the process and the laser heads start automatically. Since most of our machines are enclosed, the dust, smoke, or laser doesn’t erupt.
Step 6: Post-Engraving
Post engraving, clean the wood with a brush. You may apply lacquer to set the engraving. If you want to darken it, applying colored max is also an option.

What Can Be Made: A Look at Photo-Engraved Wood Projects
Here are some wood projects where photos can be engraved to add a personal or artistic touch:
Wall Art

Taking a photo and engraving it onto a large wooden panel can turn an image into a piece of art. Although rustic, this approach is a refined display of cherished photographs. The wood's grain and texture add a natural element to the photo, making each piece one-of-a-kind. Such a piece of wall art turns into the focal point of a room and adds personality to that space.
Memory Boxes

A wooden memory box with a laser-engraved photo on its lid or sides serves as a poignant repository for cherished mementos. The photo on the outside evokes a special moment every time it’s seen or touched. It can used be to store letters, small heirlooms, or trinkets for special occasions.
Coasters

Wooden coasters provide a unique canvas for engraving photos. Imagine a set of coasters each bearing a different photo from a special family vacation, or a series of beloved pet portraits. These unique coasters will spark conversation and evoke memories with every use.
Jewelry Boxes
A jewelry box is a personal item by nature, holding items that are often of significant emotional value. Engraving a photo onto the lid of a wooden jewelry box adds an extra layer of sentiment, which makes the box itself as meaningful as the jewels inside. This could be an ideal gift for special occasions, such as Mother's Day, anniversaries, or graduation.
Cutting Boards

Primarily, the cutting board is a functional kitchen tool, but it can also serve as a decorative piece when not in use. An engraved photo on the back or a less utilized corner of the board allows it to double as kitchen decor. For example, a family recipe in a grandmother's handwriting, alongside a photo of her, can make a cutting board a family heirloom as well as a practical kitchen tool.
FAQs on Transferring Images to Wood
What is the Easiest Way to Transfer Photos to Wood?
Among the common DIY methods, laser printing/engraving is the simplest method. All you need is a digital photo and laser engraver. Place the wooden object, feed the photo, and the engraver automatically transfers the photo onto the wood.

xTool S1 Home Craft Laser Engraver
Learn MoreHow Do You Transfer a Drawing to Wood without Transfer Paper?
If you don’t want to choose the traditional transfer paper method, which imprints designs on the top layer only. Then, laser engraving is the best method which adds a permanent design by etching the wood.
How Do You Write on Wood?
To write on wood, make a lettering design on graphic design software, feed that design to a laser engraver, and then place the designated wooden piece inside the engraver.
Conclusion
Photos on paper are traditional; engraving them on wood is the modern method for crafting attractive and memorable pieces. To transfer photos onto wood, you simply need a laser engraver and a grayscale image. Feed the image into the laser engraver and watch as it brings your memories to life on wood.
For more questions. Please join our Facebook group to get inspired!

Related Posts
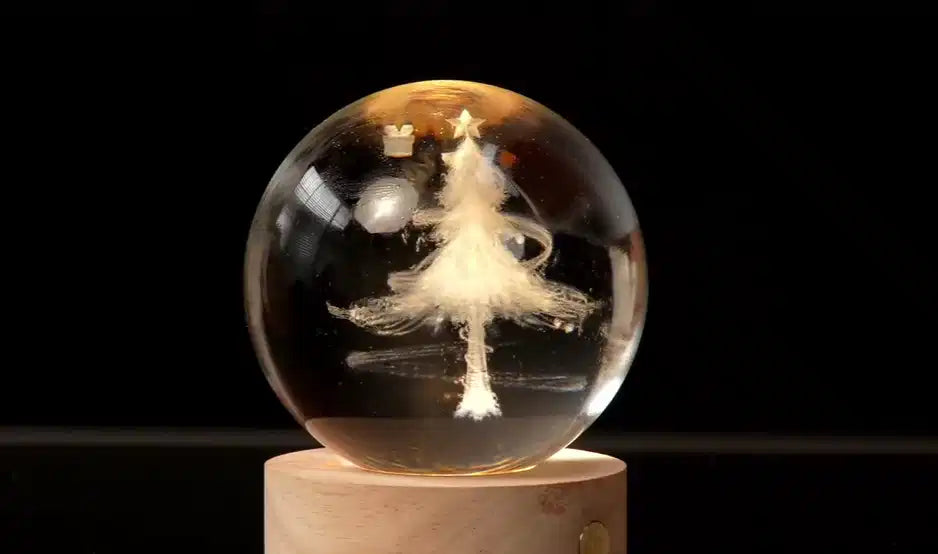
How to Sub-Surface Laser Engraving Glass Ball?
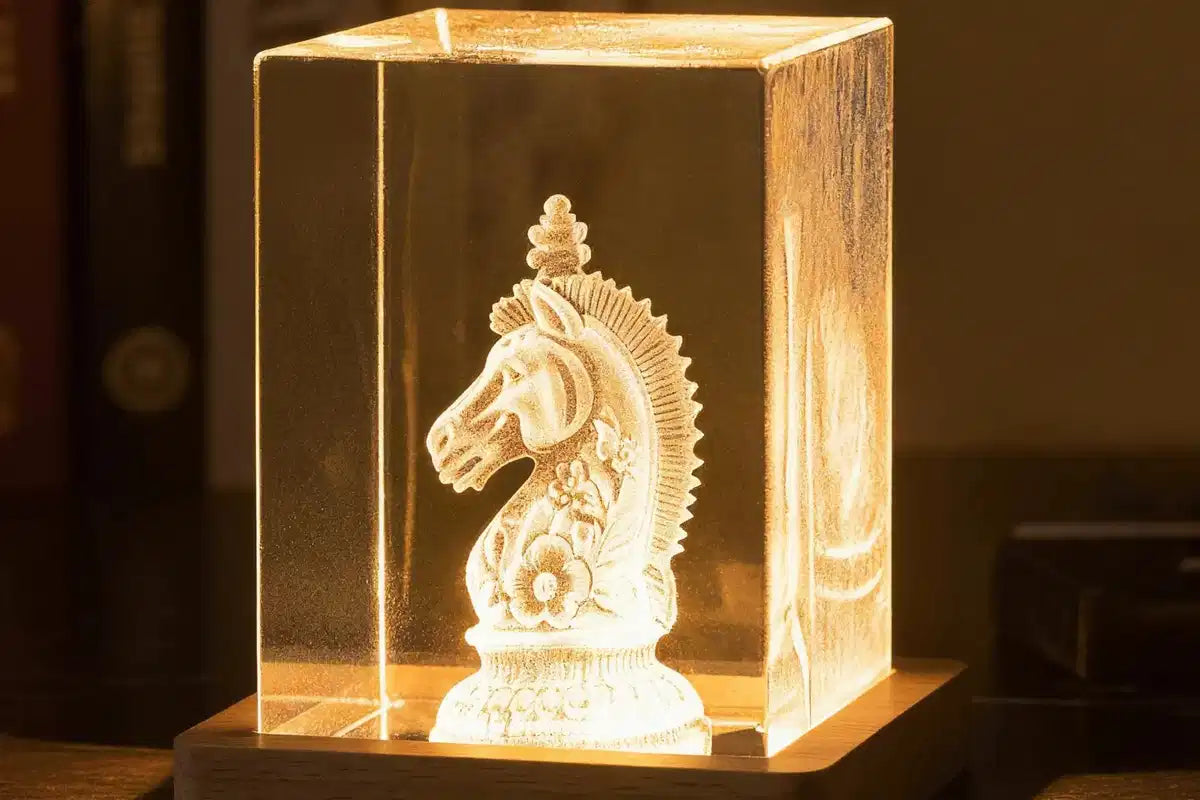
3D Laser Engrave Crystal Bubblegram: The Smart Way