How to Make Your Own Rubber Stamps?
Crafting custom rubber stamps has become a popular endeavor among both businesses and craft enthusiasts. Businesses use stamps to integrate their brand identity across various platforms, from packaging to paperwork. Simultaneously, craft enthusiasts revel in the opportunity to infuse their projects with distinctive, intricate designs that stamps uniquely provide.
Stamp-making is no longer a time-consuming task that requires hand skills. No more inconsistent results, thanks to the introduction of laser engraving machines. Now, anyone can carve rubber stamps with ease and precision.
This article explains how you can make a rubber stamp with modern laser engravers. We will be mentioning the tools, step-wise procedure, and applications of laser-engraved rubber stamps.
In This Article
- Materials and Tools Needed for Custom Rubber Stamp Making
- How to Make A Stamp: Step-By-Step Guide
- Applications of Laser-Engraved Stamps
- FAQs on Making Your Own Stamps
- Conclusion
Materials and Tools Needed for Custom Rubber Stamp Making
Laser engraving rubber simply means removing the rubber’s top layer with a high LASER beam. Instead of a using cutting tool that physically contacts the rubber. Here, the laser beam’s high temperature vaporizes the materials and creates a design cavity. The process is quite quicker than the traditional cutting as the whole process is automated without any manual intervention.
The process involves designing the stamp pattern on a computer using design software, which is then sent to the laser engraver. The laser engraver precisely engraves the design into the chosen material, including rubber, acrylic, and wood, creating a stamp that can be used in various projects.
Besides being quicker, laser engraving also shines in other areas. For instance, it is much more precise, thanks to the hair-thin laser spot size. This also means minimal material waste.
With engraving, all designs are identical. You achieve similar results every time– no flaws or distortions you observe in manual carving.
Now, let’s move on to the tools, you’ll need for making rubber stamps at home:
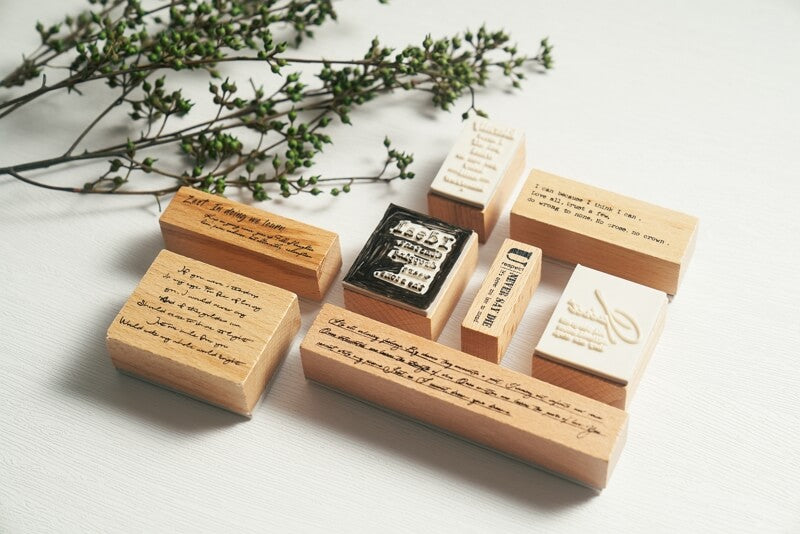
1. A Rubber Stamp Sheet
Natural, silicone, and nitrile rubber are best suited for laser engraving. However, when it comes to stamping, you’ll see a kind named ‘stamp rubber’, which is slightly soft and has its unique composition. It’s also suitable for laser engraving.
Typically, the stamp rubber is available as a sheet or in different stamp sizes (3 x 4, 4 x 6, 12 x 9") and thicknesses up to 0.01 – 0.02 inches. At xTool, we sell a stamp rubber sheet, measuring, 11.70" x 8.27". There’s another rubber stamp set with a couple of sheets, 2 rubber stamps, and 2 ink pads.
2. Laser Engraver
You also need a laser engraver. For engraving, power isn’t a particular requirement, a 10W laser engraver would be sufficient for rubber engraving. Both diode and CO2 lasers can engrave rubber, but using a diode laser is a cost-effective choice.
If you’re looking for one particular recommendation, xTool F1 is the best option out there. xTool F1 comes in a handheld design; is compact and portable – with an internal space that’s just perfect for laser engraving rubber stamps.
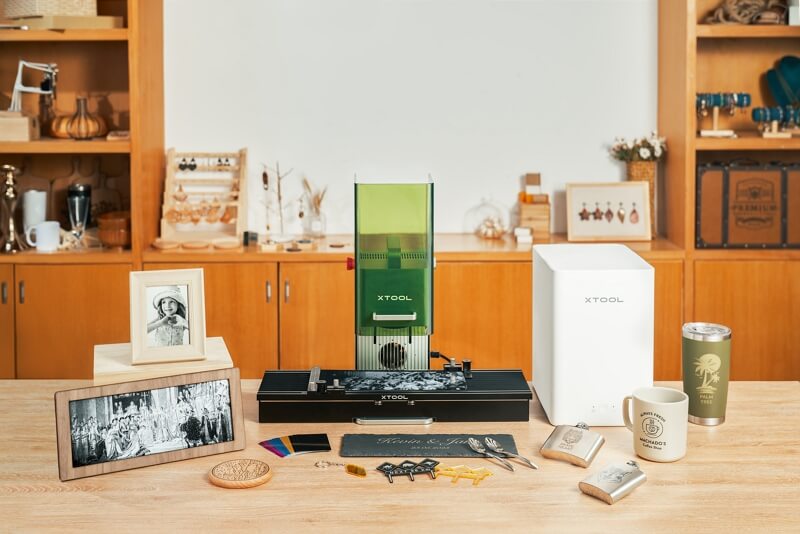
xTool F1 Handheld Laser Engraver
Learn MoreIt engraves at a high speed of 4000mm/s, a speed very uncommon for most diode laser engravers on the market. Also, the enclosed design makes it very safe. Engraving a rubber piece is a breeze with F1.
3. Wood Block and Adhesive
To turn the engraved rubber sheet into a proper stamp, you need a small wood block that matches the size of the stamp design, and of course, an adhesive to join them together. You can use Power Tac, Rubber Cement, or E6000.
How to Make A Stamp: Step-By-Step Guide
Now that you have the right tools for the job, let’s quickly review the steps for making stamps:
Step 1: Design the Stamp in XCS Software
Design is a very critical step in stamp-making and a phase where most people make mistakes. Make sure you note our instructions carefully.
You can design the file on any graphic software but we recommend using laser engraver software, such as xTool XCS. If the stamp contains a pattern or logo, download/create the SVG file for that design and import it into XCS. Make sure it comes with a transparent background. Resize it according to your desired stamp size.
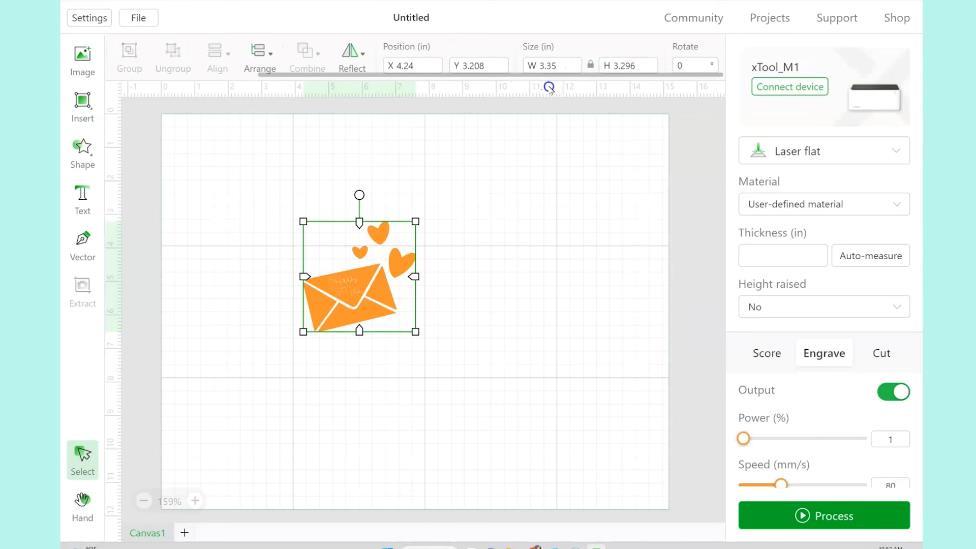
©Crafting in the Rain via YouTube
Select the pattern/lettering and change the design settings to ‘engrave’. You will observe a shift in white and orange areas. White areas are those that remain untouched during engraving. To add a border for engraving, add a rectangle around the design, and again select ‘engrave’.
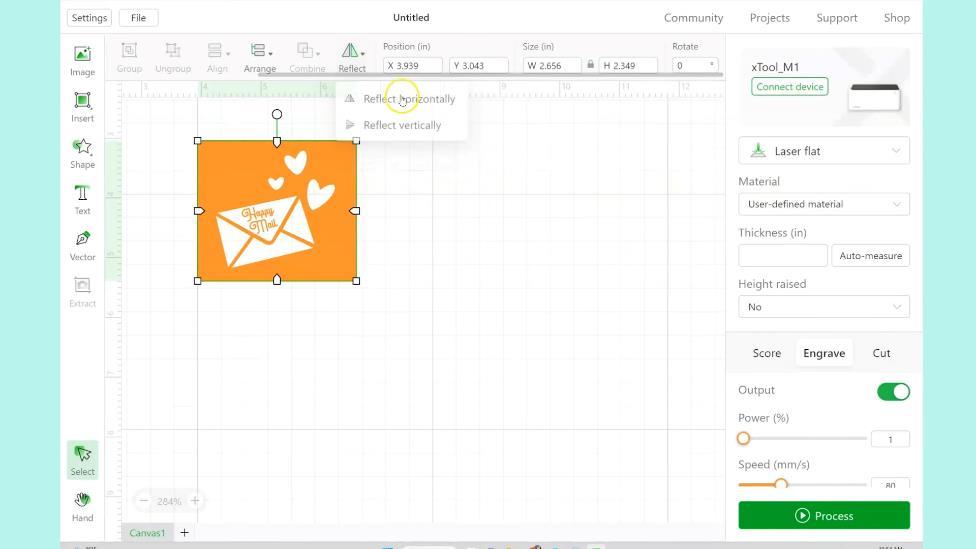
An important step: select the final pattern and flip it ‘horizontally’. If you don’t, the stamp will imprint a mirrored image of the design.
Step 2: Set Up the Laser Engraver
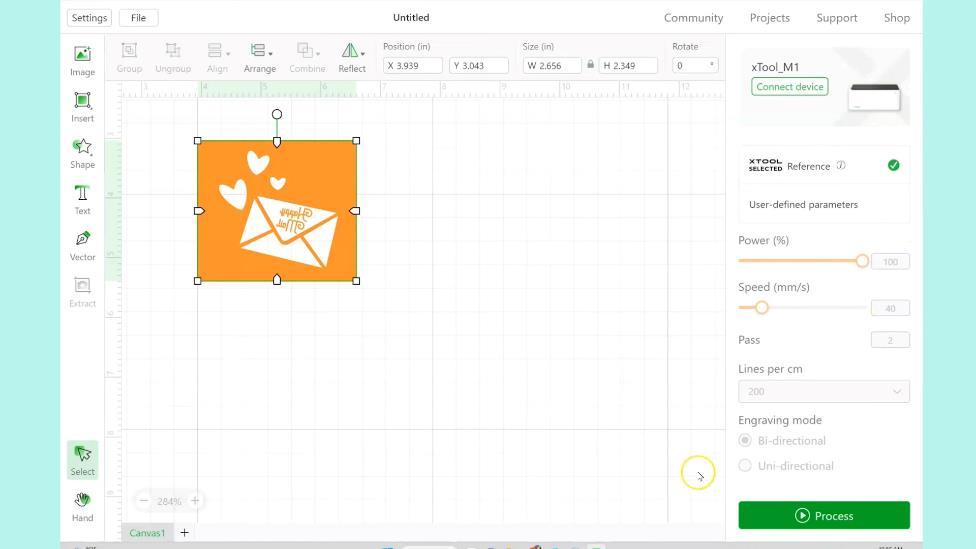
Connect your laser engraver to the PC. Place the rubber sheet on the machine bed and adjust the laser head. Turn on the machine, return to the laser software, and drag the design onto the rubber sheet.
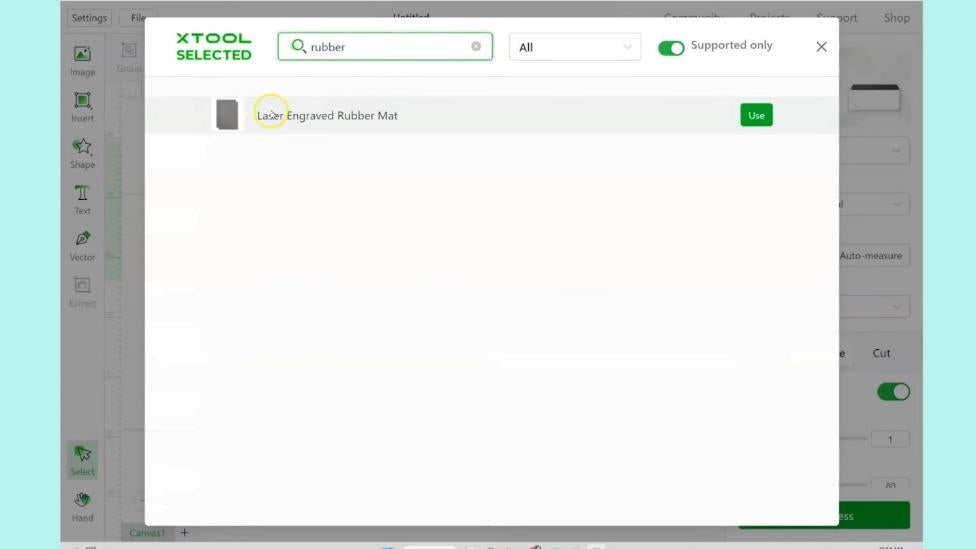
Choose a material, ‘laser engraved rubber mat’ from the list of materials. There are also power settings, you may leave the power at 100% for engraving.
xTool F1 Handheld Laser Engraver
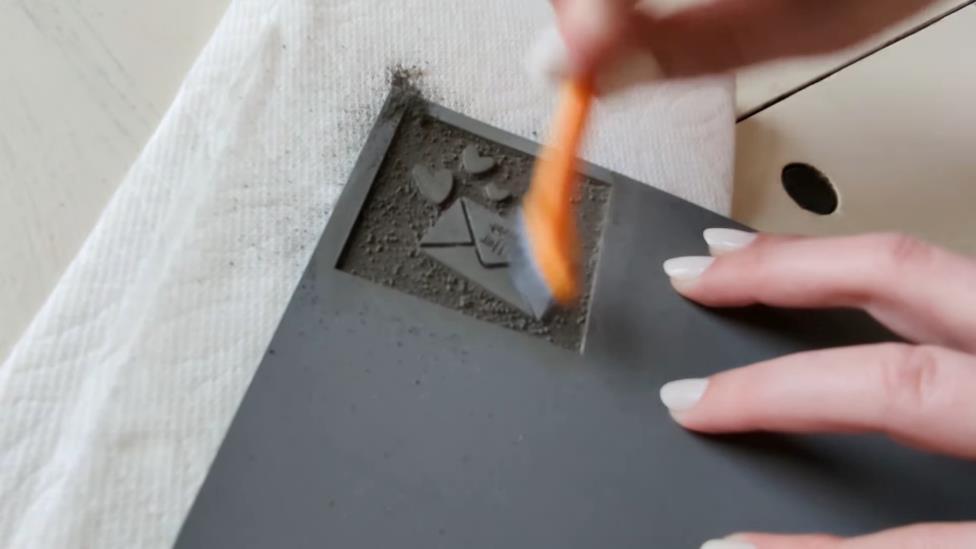
Learn MoreStep 3: Clean and Cut the Engraved Rubber Sheet
After engraving, the rubber design looks dirty due to the rubber residue. Use a toothbrush to clean out the engraved area. If you worked on the long rubber sheet, cut out the stamp design with a pair of scissors. Rub alcohol over to fully clean it.
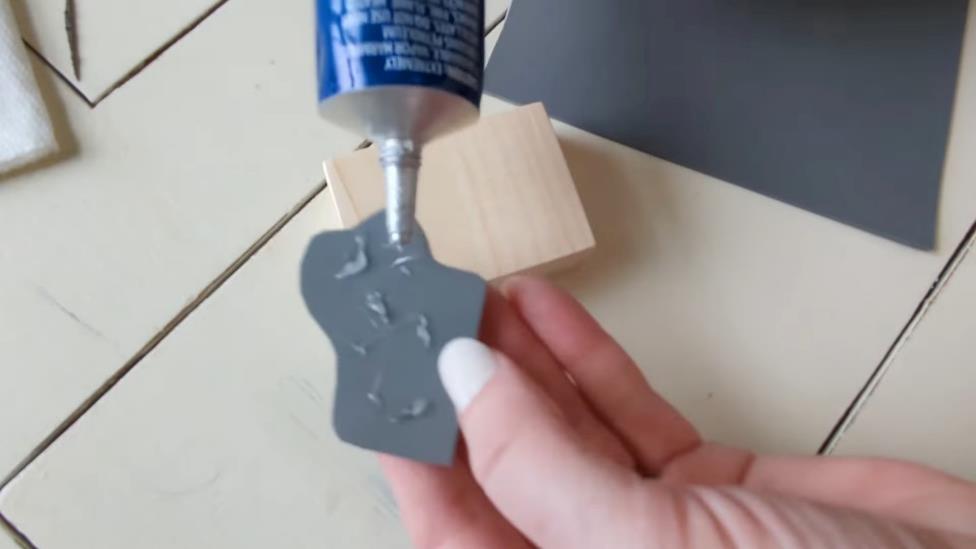
Step 4: Mount the Rubber Sheet to the Wood Block
Cut a wood block to serve as the stamp’s mount. You can also use a pre-cut block. Apply a strong adhesive to the rubber stamp and press it onto the wood block. Align it carefully.
For easy identification, stamp the design onto a piece of sticker paper, cut it out, and adhere it to the back of the wood block.
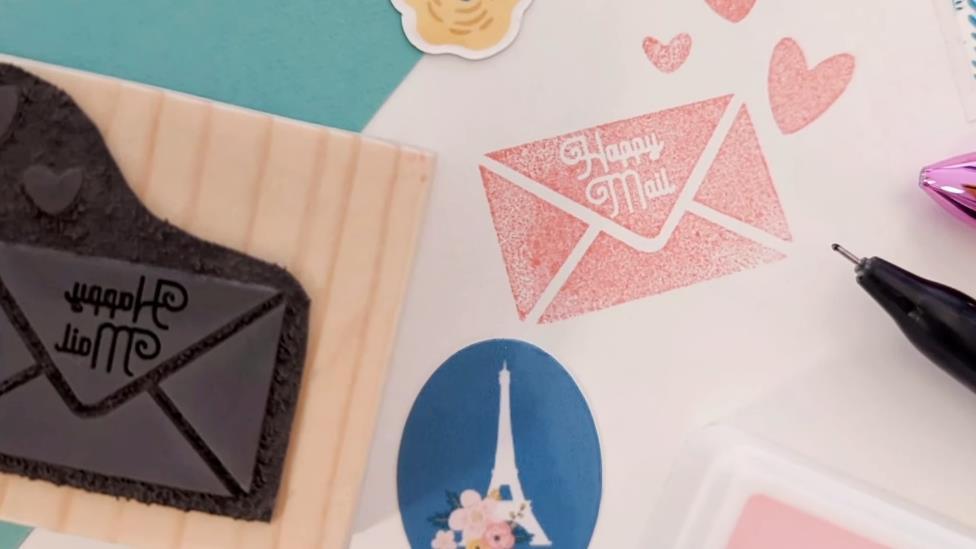
Step 5: Testing and Usage
Apply ink to your new rubber stamp and test it on paper to ensure it stamps clearly and correctly. The design gets better after a couple of usages.
Applications of Laser-Engraved Stamps
Laser engraved stamps have numerous small applications that mostly fall into two categories. One common usage is crafting and DIY projects. The other aspect is business and branding.
Crafting and DIY projects
Let’s have a closer look at what DIY customizations can be with laser-engraved rubber stamps.
Home Décor

Stamps open another world of possibilities for home décor crafts. With these stamps, you can imprint your unique designs onto coasters, and turn a simple drink accessory into a conversation starter. Besides that, you can design walls and decorate plates with unique patterns.
Artistic Projects
In pottery, stamps can create intricate designs on clay surfaces before firing, while in mixed media art, they add depth and interest, layering images and motifs across different materials. With this approach, artists can explore new dimensions in their work, creating more interesting art projects.
Gift Wrapping
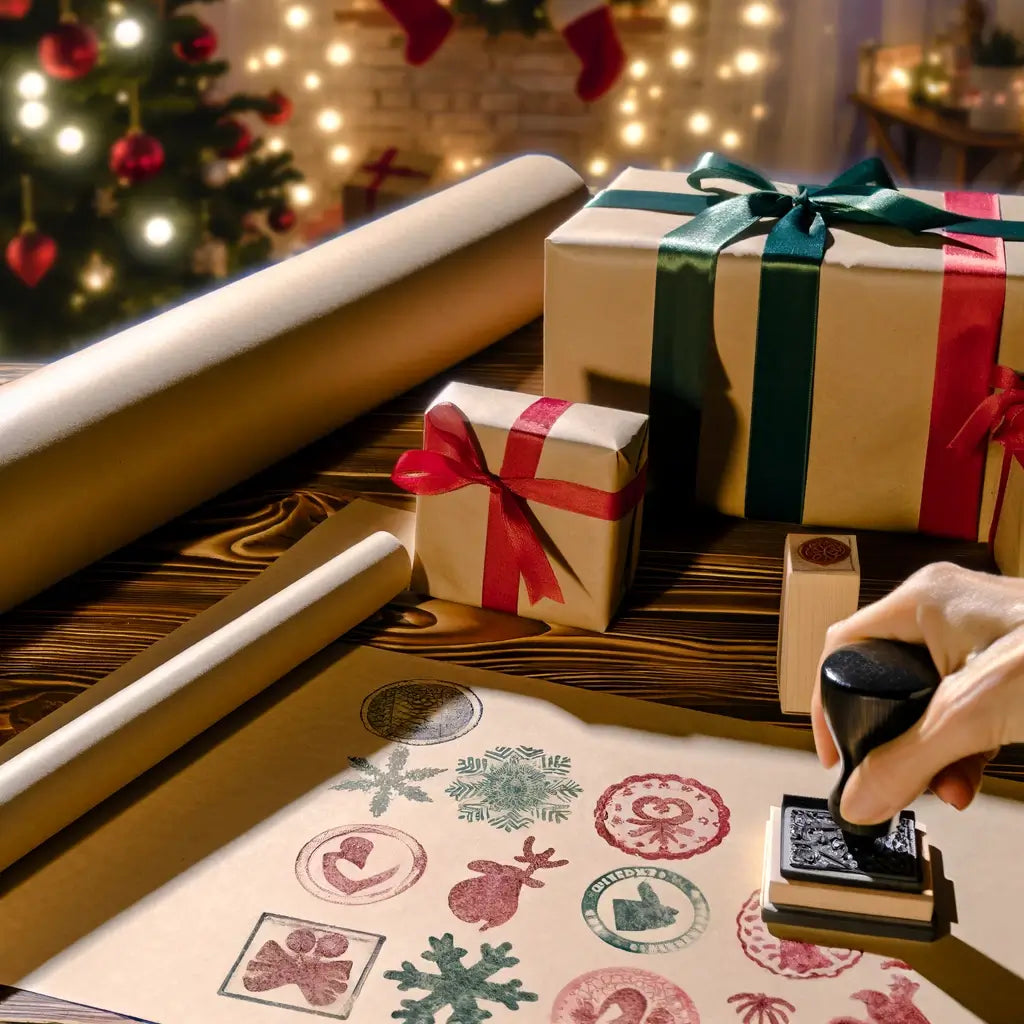
Picture wrapping gifts in paper that bears your unique stamp – even the smallest presents feel grand. The anticipation of unwrapping becomes as exciting as discovering the gift inside. Through custom stamps, you convey your thoughtfulness and care for the recipient.
Handmade Cards and Invitations
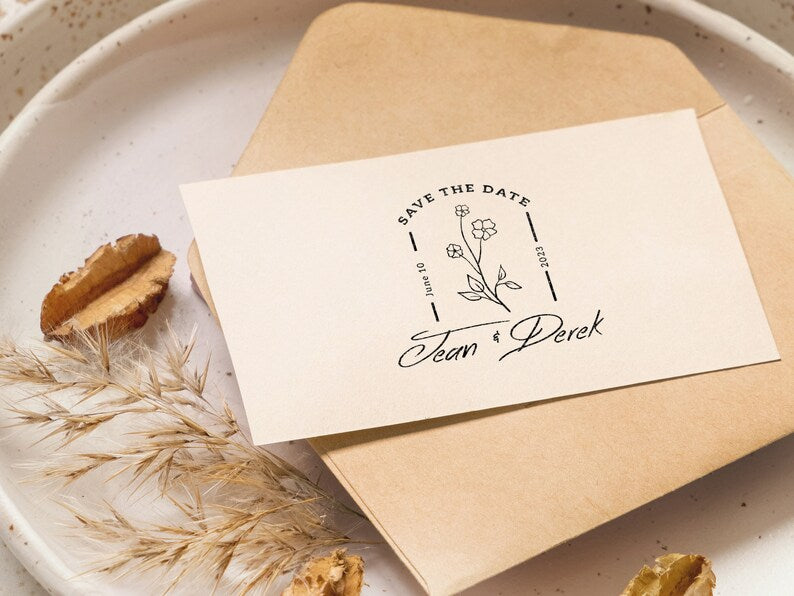
A handmade card or invitation stands out as a heartfelt gesture. Laser-engraved rubber stamps are the perfect tool for adding that personal touch. Whether crafting a birthday card, wedding invitation, or thank-you note, the custom stamp adds a layer of warmth and sincerity.
Fabric Printing
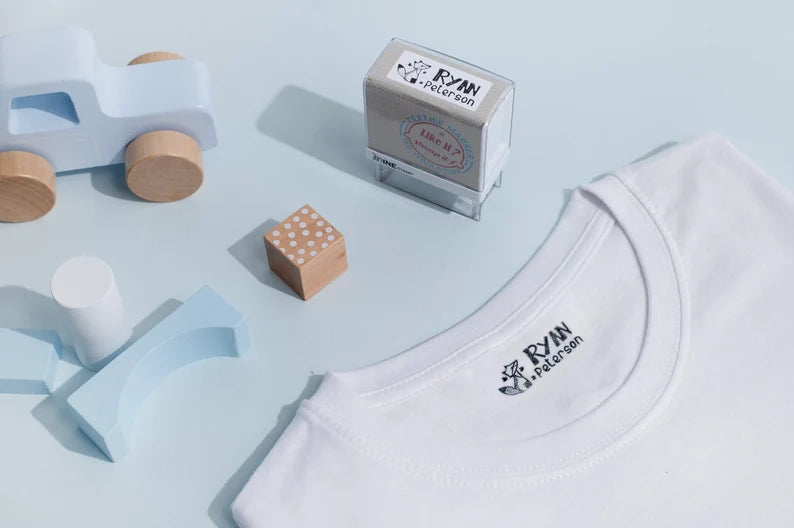
Stamps can adhere to any material, whether cardboard, metals, or fabric. You can customize your tote bags, t-shirts, and pillowcases with unique designs. It can be a bold graphic on a casual tee or a delicate pattern on a cozy pillowcase – transform items as per your taste.
DIY Jewelry
In the world of DIY jewelry, small, detailed stamps open the door to creating unique accessories. Utilize these precise patterns to enhance polymer clay, crafting earrings, necklaces, and bracelets that stand out.
Scrapbooking
Scrapbooking turns the act of memory-keeping into a creative endeavor. Custom laser-engraved stamps introduce a new dimension to this craft. Consider stamping each page with an emoji that captures your mood. You can create a customized stamp for each unique memory and make your scrapbook more interesting and fun.
Personalized Stationery
Our communication gets more fun and personalized with the use of stamps. Imagine sending your loved ones letters with customized emoji stamps. You can design your letterhead stamps to put on your personal documents. Stamping stationery with a monogram, emblems, or custom illustration is another option.
Business and Branding
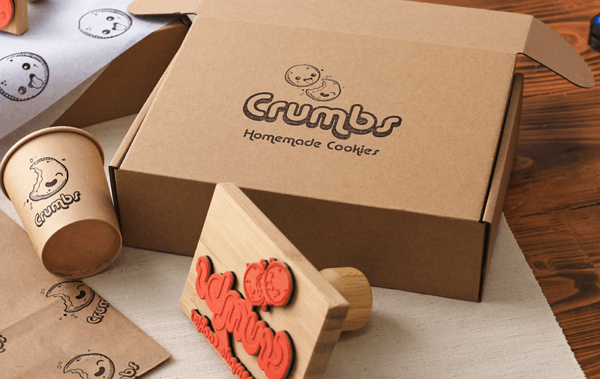
The commercial aspect of rubber stamping is in branding and customized packaging.
Branding Material
Using laser-engraved stamps is an effective way to transform your branding strategy. You can add a business logo, contact details, or any branded design directly onto your packaging and promotional materials. It will add authenticity and craftsmanship to your presentation.
Product Labeling
Detailed labeling improves product presentation and customer experience. Apply your brand's logo, size information, care instructions, or batch numbers with clarity and consistency. This ensures that every product carries your mark of excellence.
Custom Packaging
Redefine the unboxing experience with custom stamping. You can stamp your brand’s design on boxes, bags, and tissue paper. This personalized touch turns a package into a memorable encounter with your brand, building excitement from the moment the package is received. It serves as a silent ambassador for your brand and highlights the effort you’ve put into your product.
FAQs on Making Your Own Stamps
Can I Make a Rubber Stamp at Home?
Yes, making a rubber stamp at home is quite possible. All you need is a rubber stamp, and a laser engraver, such as xTool F1.
Can I Make My Own Stamps?
Yes, you can customize rubber stamps to add names, logos, or patterns through laser engraving. Make sure to mirror the design before engraving.
What Material Do You Need to Make a Rubber Stamp?
To make a rubber stamp, you’ll need a sheet of soft rubber specifically designed for stamp making, which can be laser-engraved or carved manually. Additionally, you'll require a mounting block (usually wood or acrylic), adhesive to attach the rubber to the block, and ink pads in your desired colors.
What Machine Do I Need to Make Rubber Stamps?
To make your own rubber stamps at home, a laser engraving machine is highly recommended. It is precise, quicker, and capable of printing any design or pattern on the rubber pad with ease.
Conclusion
Crafting and using stamps is a creative endeavor. It’s a way to stylize and personalize your products, documents, jewelry, gifts, and DIY projects. Earlier, one of the hurdles of the process was the skilled curving of the rubber with cutting. But that’s no longer the case. With laser engraving machines, making stamps is much more easy and quick.
For more questions. Please join our Facebook group to get inspired!

Related Posts
UV Printing on Acrylic: All You Need to Know
How To Make Stickers At Home: Ideas And Small Business Inspiration